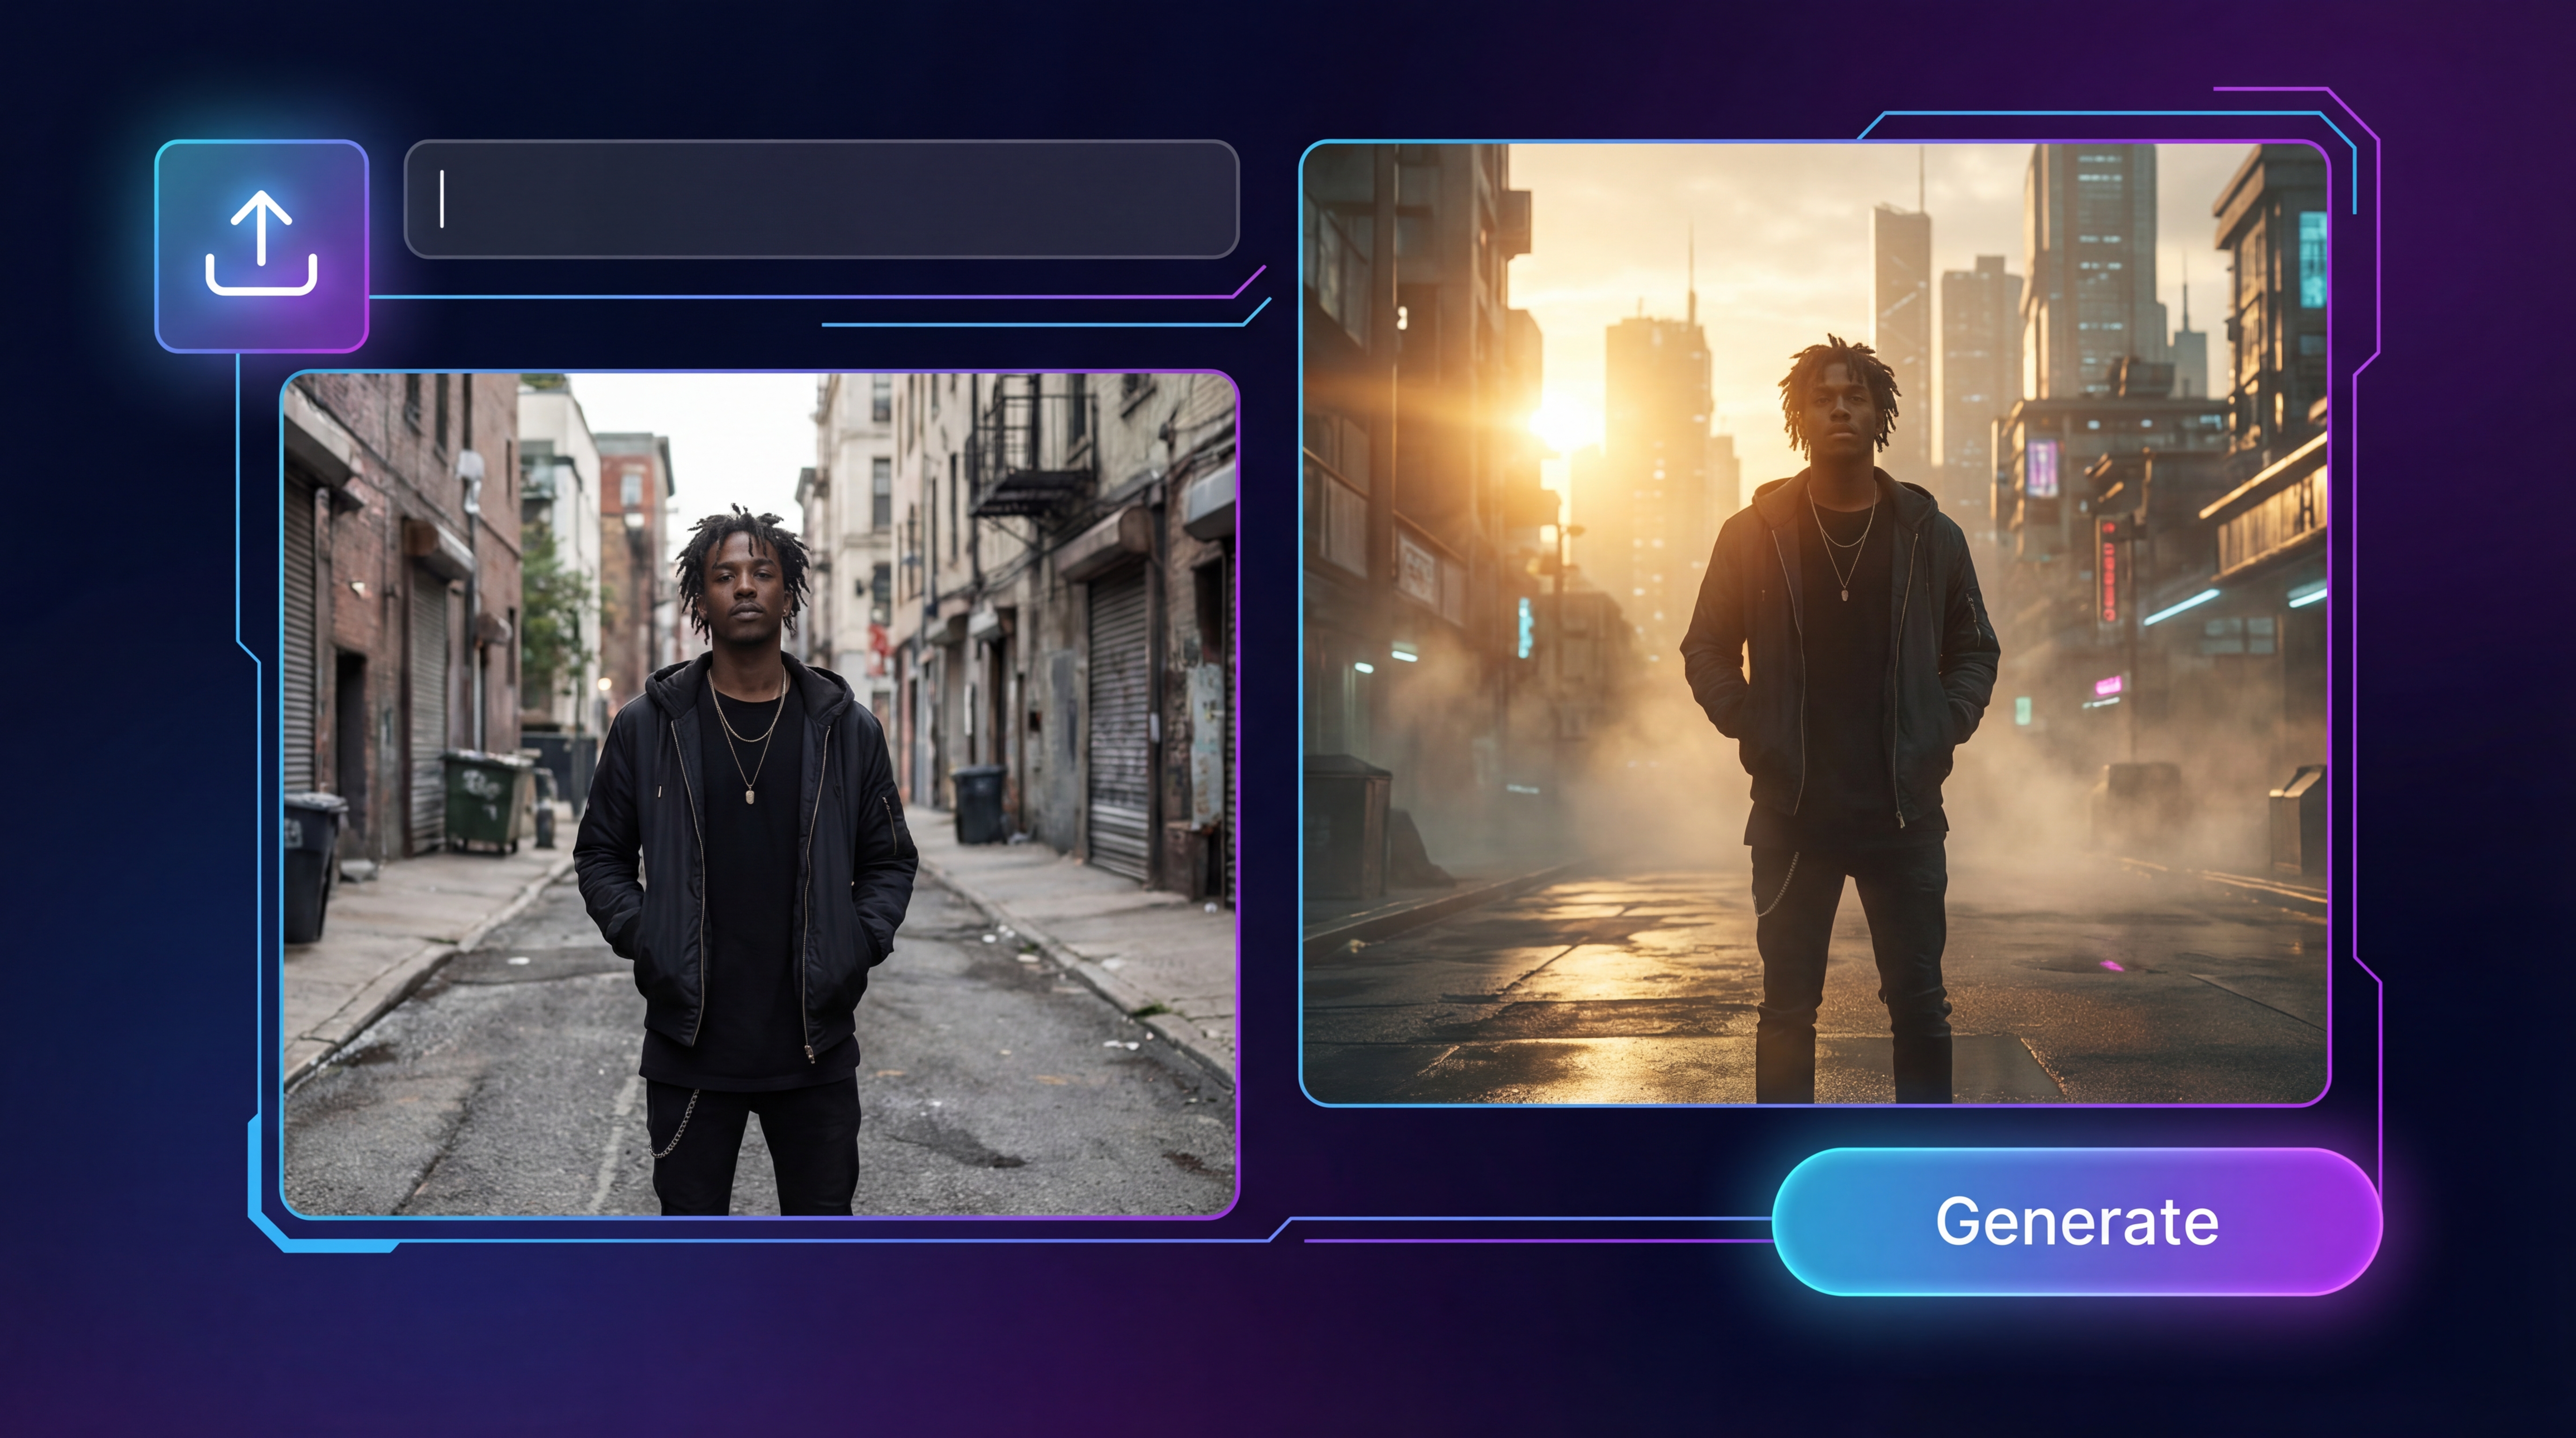
如果你曾经有过这样一张图片:构图很棒,但光线很平、背景很乱、或者整体风格不符合你的品牌,那么图像转图像 AI就是你一直在找的捷径。
你不必从零开始创作,而是上传一张你已经比较满意的照片,描述想要的修改,然后让一个由图生图的 AI 图像生成器在保留原图精髓的前提下产出新的版本。
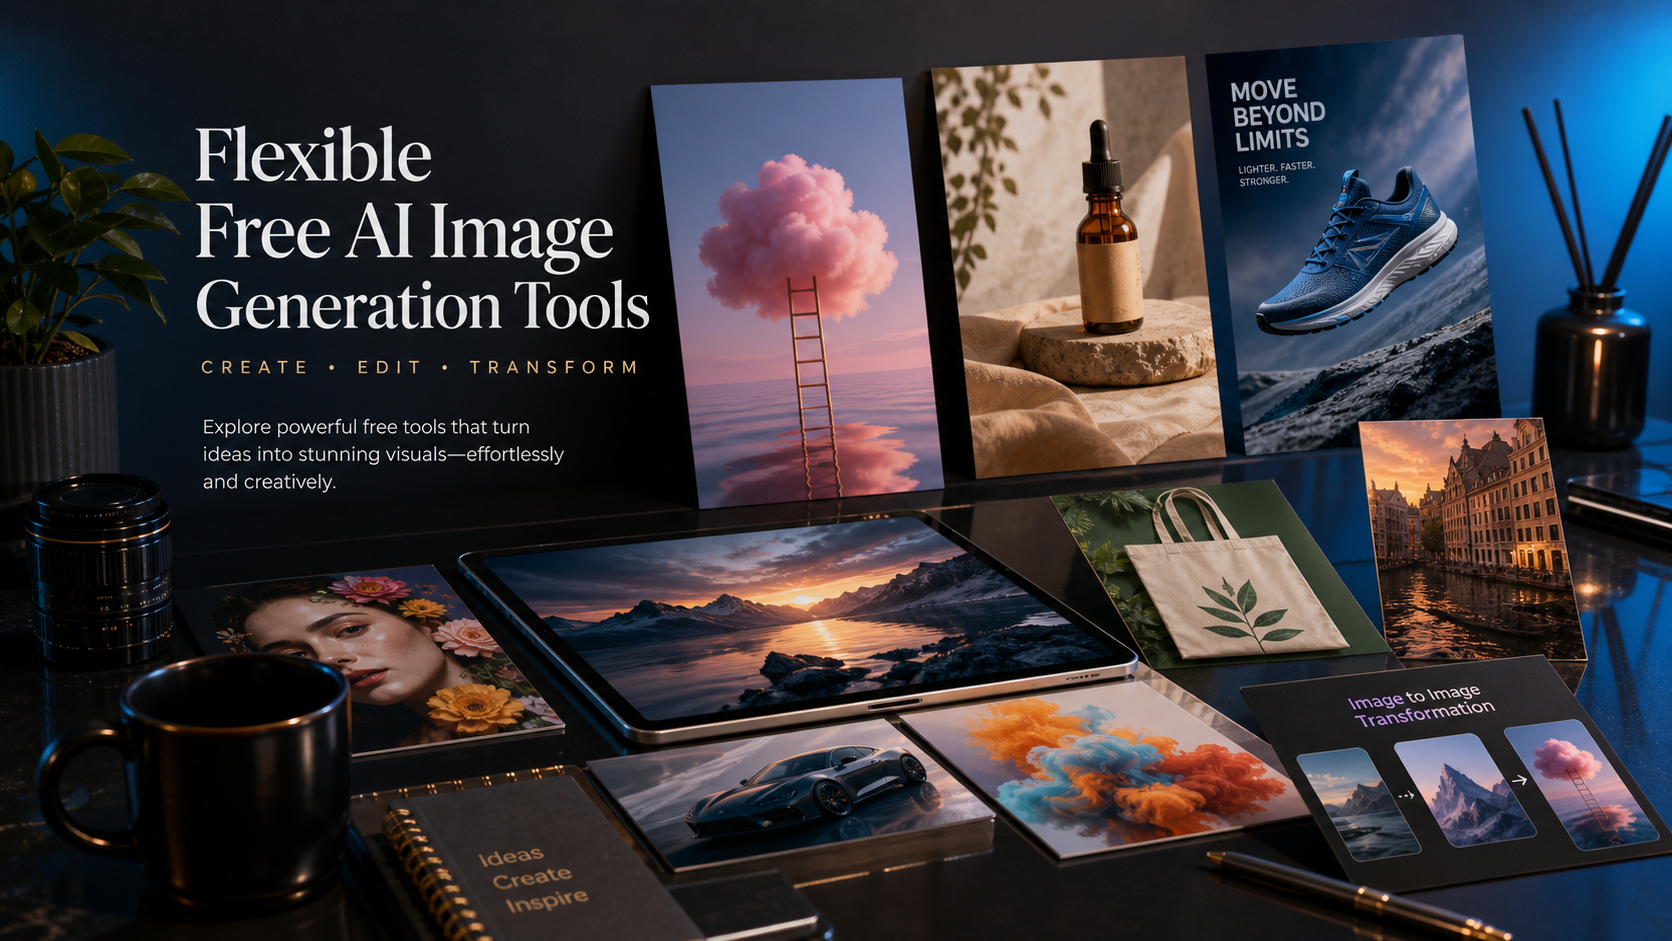
在这篇指南中,你将了解什么是图像转图像 AI、它最适合做什么,以及如何用 FreeImgen 的**免费图像转图像 AI**获得高质量结果。
用大白话解释:什么是“图像转图像 AI”
一个**图像转图像 AI**工具会把你提供的原始图片当作“底图”。然后根据你的文字说明,生成一张新的图片,按照你的指令进行变化。
可以这样理解:
- 你的图片 = 蓝图(姿势、布局、主体、整体结构)
- 你的提示词 = 翻新方案(风格、光线、背景、氛围、细节)
这就是为什么**免费的 AI 图像转图像生成器**非常适合快速迭代。你不是在重新造轮子,而是在升级你已有的内容。
为什么大家爱用 AI 图像转图像生成器
当你手头还没有任何素材时,文字生成图片非常好用。但一旦你需要“统一性”——同一个人物、同一个构图、同一个产品角度——图像转图像就更实用。
以下是人们使用**免费 ai image to image generator**工作流的常见原因:
- 保留构图,改变风格。 让一张普通照片变得电影感、梦幻、极简,或者油画风。
- 快速清理画面。 优化光线、去除杂物、简化背景。
- 极速生成多版本。 非常适合用于缩略图、广告、社交媒体配图的 A/B 测试。
- 打造统一风格。 当你想让整个视觉系统拥有一致的“品牌感”时特别有帮助。
认识一下 FreeImgen 的免费图像转图像 AI
FreeImgen 提供了一个简单直观的工具,让你用一张图轻松生成多种版本。使用 FreeImgen 的免费图像转图像 AI 生成器,你可以:
- 上传一张图片(支持常见格式,如 JPG/PNG/WebP)
- 用提示词说明你想要的修改
- 快速生成新结果
- 轻松反复迭代,直到得到你满意的版本
如果你想不费劲地体验由图像生成图像的 AI 工具(AI image generator from image),又不想被复杂流程卡住,这个工具就是为此而生的。
图像转图像的工作流程是怎么运作的(好让你心里有数)
绝大多数成功的图像转图像生成,都靠一个核心思路:
清楚描述“差异”:什么要变,什么要不变。
当你使用**免费图像转图像 AI**时,其实是在给模型两条指令:
- “把这张图当作基础。”
- “按这种具体方式改造它。”
如果你没有明确说明哪些部分必须保持不变,生成结果就可能“跑偏”。反之,如果你讲得足够清楚,产出的图就会更像是“有意的变体”,而不是完全随机的重构。
步骤详解:如何使用 FreeImgen 的图像转图像 AI
每次使用**免费的 AI 图像转图像生成器**时,你都可以参考这个简单流程。
1)打开工具并上传图片
先访问 FreeImgen 的免费图像转图像 AI,上传你的基础图片。
小提示:尽量选择清晰、光线良好的图片。弱一点的图片也能强化,但干净的输入通常意味着更干净的输出。
2)写一个清晰的“保留 vs 更改”提示词
在点击生成之前,先想好:
- 哪些必须保持不变?(人物身份、姿势、服装、产品形状)
- 哪些需要改变?(风格、光线、背景、氛围、材质等)
3)生成多个版本
把它当作“抽样”。即使是好的提示词,多次生成的结果也会有细微差别。
4)根据结果优化提示词并重新生成
如果主体变化太大,就加强“保留”部分的描述。
如果画面显得杂乱,就简化你的提示词。
5)把效果好的提示词保存为预设
一旦找到适合你风格的提示词,就反复沿用。多数创作者都会建立一个属于自己的“常用提示词配方库”。
一份能明显提升效果的提示词攻略
一个适合**由图生图 AI 生成器(AI image generator from image)**的好提示词,通常是简单、具体、不过度堆砌的。
你可以直接照下面这个模板来写:
提示词模板:
- 保留: 相同主体、相同脸部、相同姿势、相同构图
- 更改:(风格 / 背景 / 光线 / 氛围)
- 质量要求: 真实细节、自然材质、清晰对焦
- 避免: 不要多出的肢体、不要文字、不要水印、不要 Logo
一些可以直接套用的小配方
产品图清理
- “保持产品完全一致且居中。背景替换为干净的白色摄影棚背景。柔光箱打光,细节清晰,无文字,无 Logo。”
电影感氛围升级
- “保留相同人物与姿势。添加电影级光影,柔和阴影,浅景深,电影剧照质感,自然皮肤纹理。”
插画风格转换
- “保留相同构图与角色设计。转换为细致的奇幻插画风格,油画笔触质感,暖色调配色,边缘干净。”
只换背景不换人物
- “保留同一人物、脸部、发型、服装和姿势。将背景替换为温馨咖啡馆室内场景,暖色灯光,真实透视。”
图像转图像 AI 的最佳应用场景(真正好用的地方)
电商与产品详情页
如果你在线销售任何产品,**ai image to image generator free**工作流非常适合:
- 清理、更换背景
- 统一光线效果
- 做季节性/节日风格,而不必重拍
- 为主图准备多种版本用于测试
社交内容与封面缩略图
你可以保留一张表现力强的基础照片,然后快速生成:
- 更明亮的版本
- 更戏剧化的版本
- 更极简干净的版本
- 带主题或节日氛围的版本
设计探索
图像转图像本质上是一种“快速打样”。你可以尝试不同风格和氛围,而无需重建整个场景。
故事创作与角色设定
对于概念设定图,它可以帮你在保持角色轮廓或脸部一致的前提下,尝试不同服装、环境与整体视觉基调。
故障排查:结果不理想时的快速补救
如果结果与预期差距较大,可以先检查以下常见问题并尝试对应解决方案。
“看起来已经不像原图了。”
加强“保持不变”的约束:
- “保持相同脸部、相同人物身份、相同发型、相同服装、相同姿势、相同画面构图。”
“出现奇怪的残影或多出的肢体。”
加入更明确的负向约束:
- “不要多出的四肢,不要变形,不要重复的脸,不要文字。”
“画面发灰、糊、脏或者太软。”
让提示词更简洁,并加入清晰度说明:
- “清晰对焦,高细节,边缘干净,自然纹理。”
“每次生成的风格都不统一。”
减少风格词堆叠,明确只选一个主要风格方向,而不是混合多种审美。
用其他 FreeImgen 工具搭建完整工作流
图像转图像搭配其他工具一起使用,会更强大。
从零开始创意时先用文生图
如果你手上还没有基础图片,可以先用 FreeImgen 的**免费文本生成图片工具**来创建初始概念。
通过不同模型探索更多风格
如果你想尝试不同审美或输出风格,也可以试试:
- Flux AI image generator 获取另一种创作方向
- Seedream 4.0 AI image generator 当你需要更多风格多样性时
- Gemini 2.5 Flash image AI 适合偏“编辑/润色”型的工作流
- Janus Pro image generator 作为另一条生成路线
对最佳结果进行高清放大
选出你最满意的图后,可以用 免费图片无损放大工具 提升清晰度和分辨率。
转换并优化为适合网页的图片格式
如果你希望网页加载更快、文件格式更干净,可以使用:
常见问题:关于免费 AI 图像转图像生成器
它能保持人脸一致吗?
在提示词中明确说明需要保留的内容时,一般可以。若出现“换脸”或身份不一致的问题,就加强“保留”部分的描述,并避免在同一个提示词里混入太多风格方向。
什么样的图片最适合用来生成?
主体清晰、光线良好、画面不太杂乱的图片效果最好。复杂的图也可以被改造,但干净的输入往往产出更干净的结果。
我需要生成多少次迭代?
可以按“小批量”思路操作。先生成几张,挑出最好的方向,然后微调提示词,再生成几张。
有什么需要避免的?
避免自相矛盾的提示词(如“写实的二次元照片”、“极简但超复杂细节”等)。也尽量少加与目标无关的细节描述,避免分散模型注意力。
总结:接下来可以这样玩
如果你想用一种实用的方式来重混(remix)现有照片和设计作品,可以直接从 FreeImgen 的免费图像转图像 AI 开始。
接着,如果你想扩展整个工作流,可以:
- 用**免费文本生成图片工具**创建全新概念
- 通过 Flux AI 或 Seedream 4.0 体验不同生成风格
- 使用 免费 AI 图片放大工具 清理并增强生成结果
- 用 PNG → JPG 转换器 导出更适合网络使用的优化文件
当你习惯了“上传 → 写提示词 → 迭代”的节奏,图像转图像 AI 就不再只是个新鲜玩意,而会变成你日常创作中高频使用的实用工具。